¶ Tools and Materials
-
A 2.0 mm Allen key
-
A pair of tweezers
-
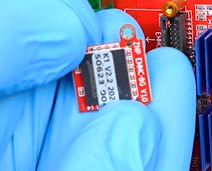
A new eMMC module
¶ Instruction
¶ Preparation
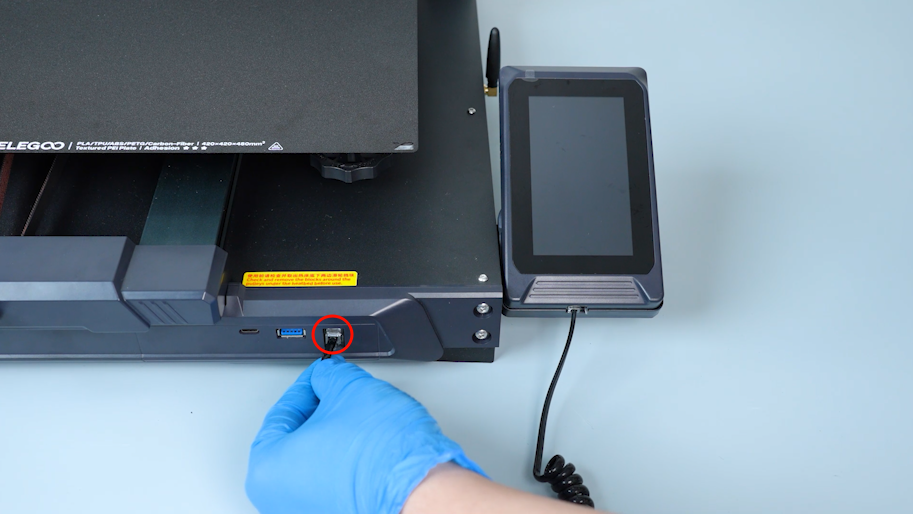
Turn the power switch OFF (symbol "〇") and unplug the power supply cable.
¶ Remove the old eMMC module
-
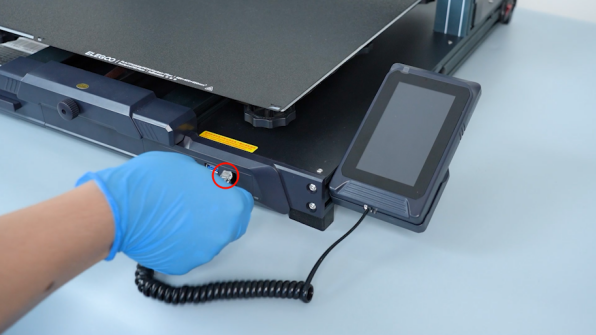
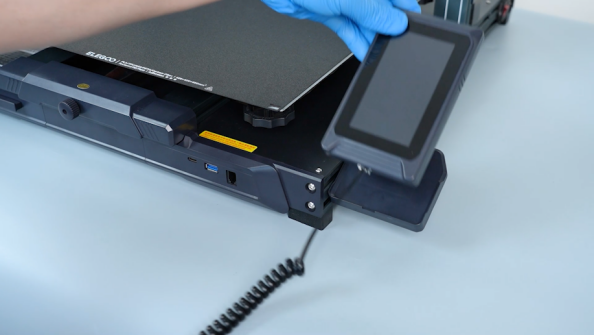
Disconnect the touch screen wire and remove the touch screen.
-
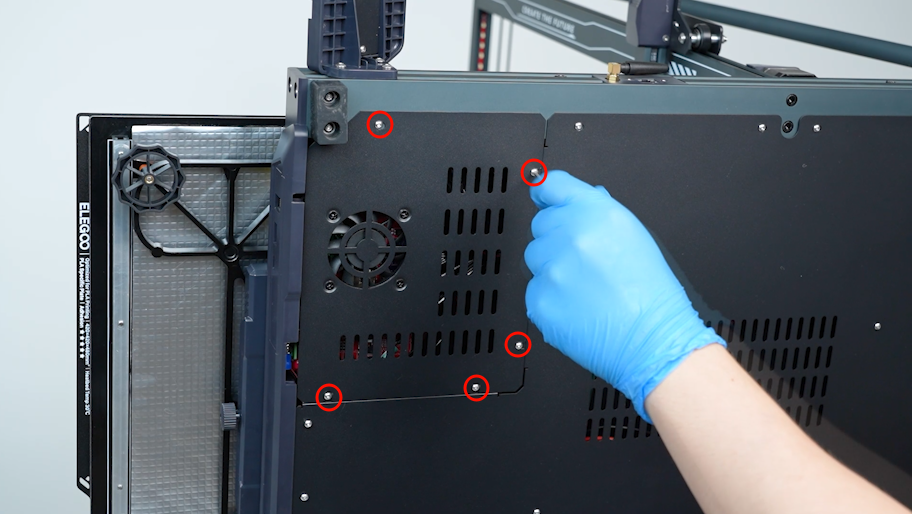
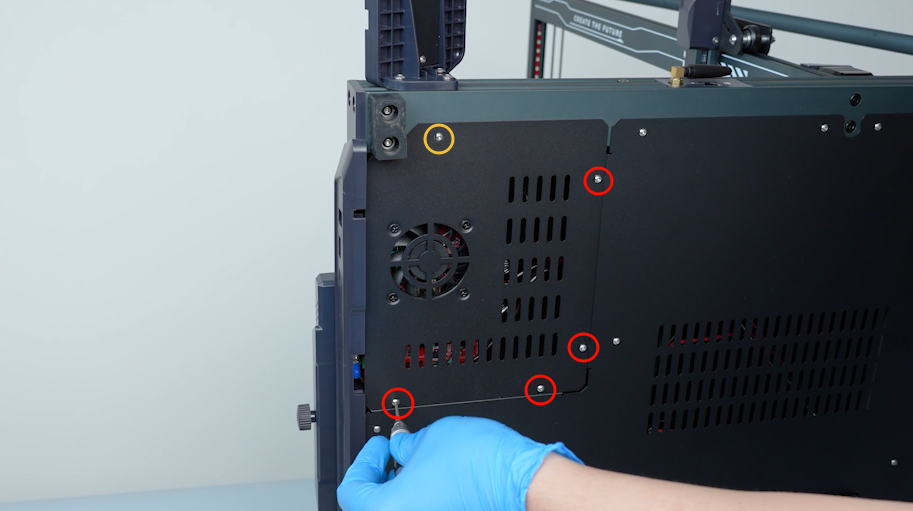
Release and remove the screws securing the motherboard cover with a 2.0 mm Allen key.
-
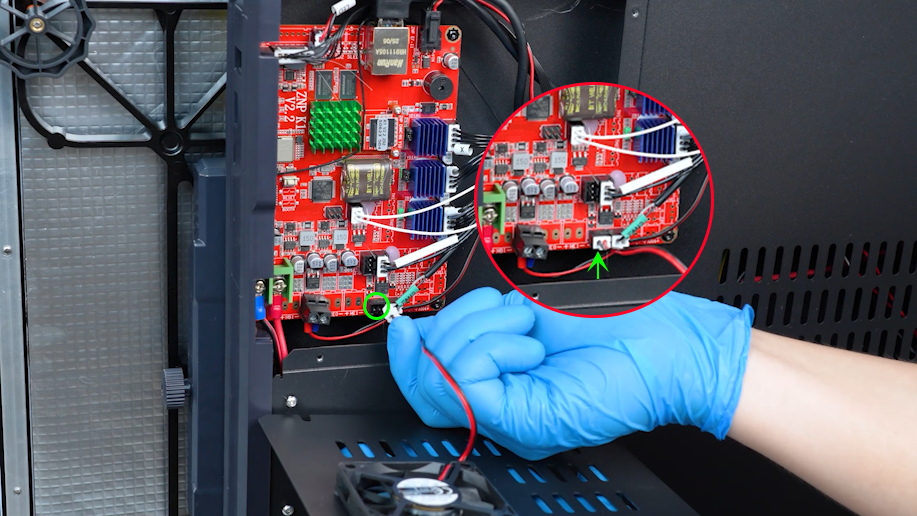
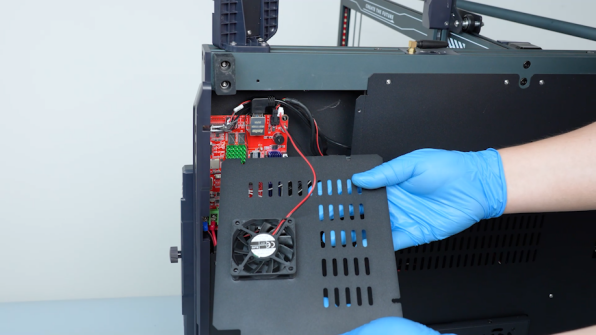
Remove the motherboard cover carefully. Disconnect the cable of the motherboard cooling fan.
-
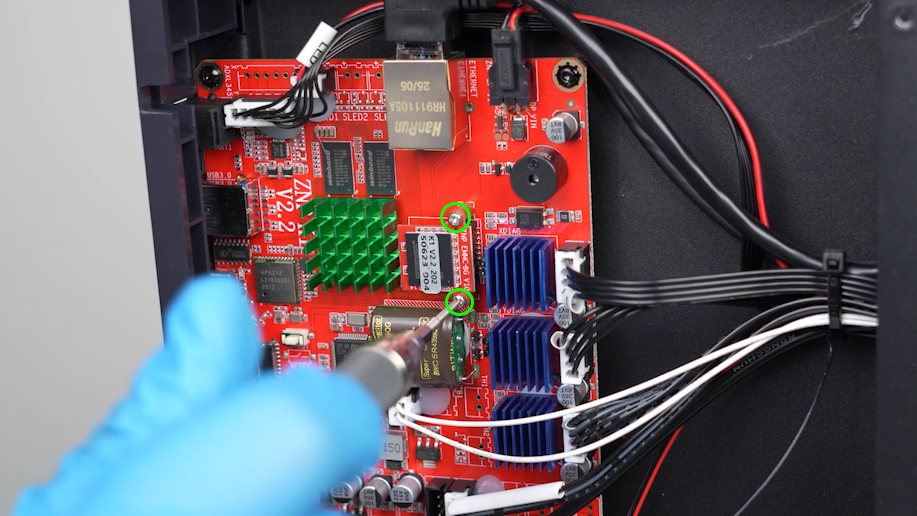
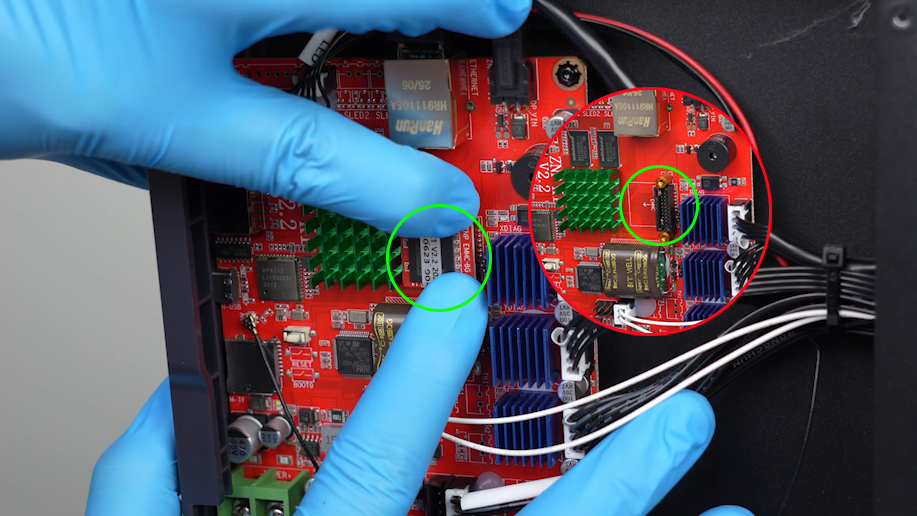
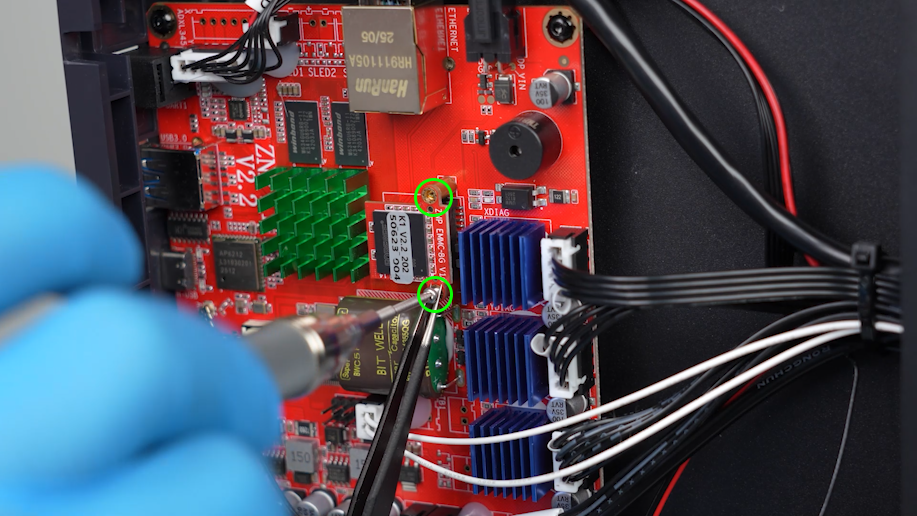
Loosen the screws securing the eMMC module with a Phillips screwdriver.
-
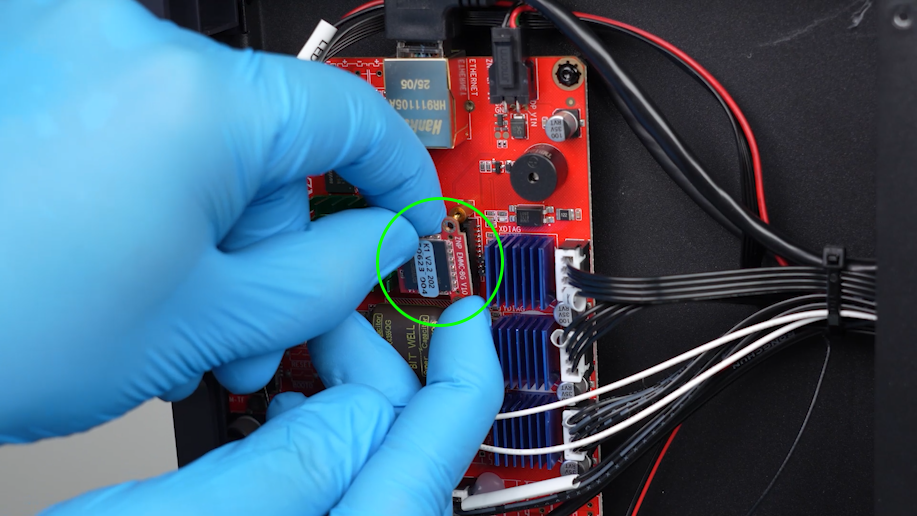
Hold the eMMC module and remove it.
¶ Install the new eMMC module
-
Prepare the new eMMC module. Align the eMMC module with the notch on the motherboard and insert it.
-
Clamp the screws and align them with the screw holes with a pair of tweezers. Tighten the screws with a Phillips screwdriver.
-
Prepare the motherboard cover. Plug in the cable of the motherboard cooling fan.
-
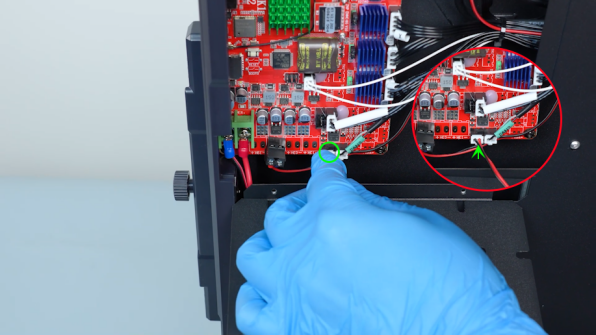
Hold the motherboard cover. Tighten the screws securing the motherboard cover with a 2.0mm Allen key.
Note: Screw labeled by the yellow circle is M3 x 16, and screws labeled by the red circle are M3 x 6.
-
Put the touch screen on the bracket and plug in the connection wire.
-
Turn the power switch ON (symbol "|") and plug in the power supply cable.
¶ Level the printer
-
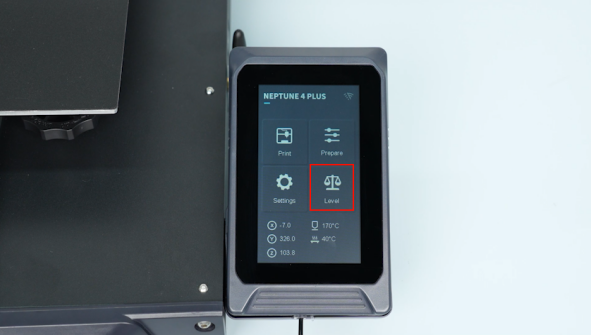
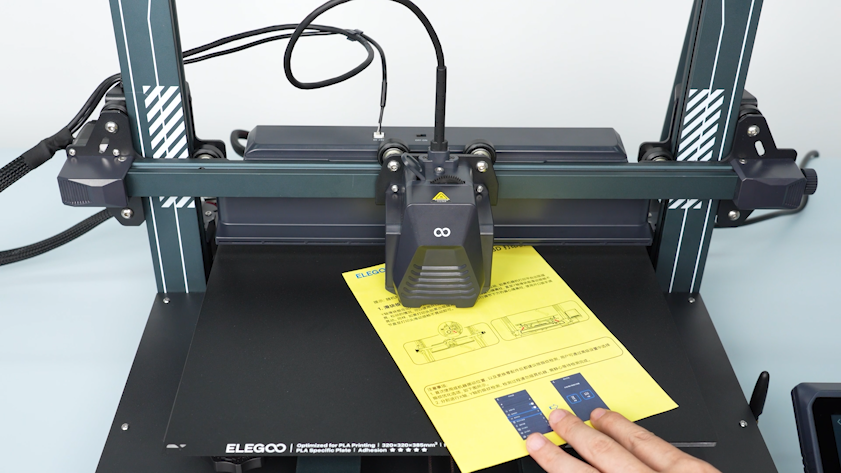
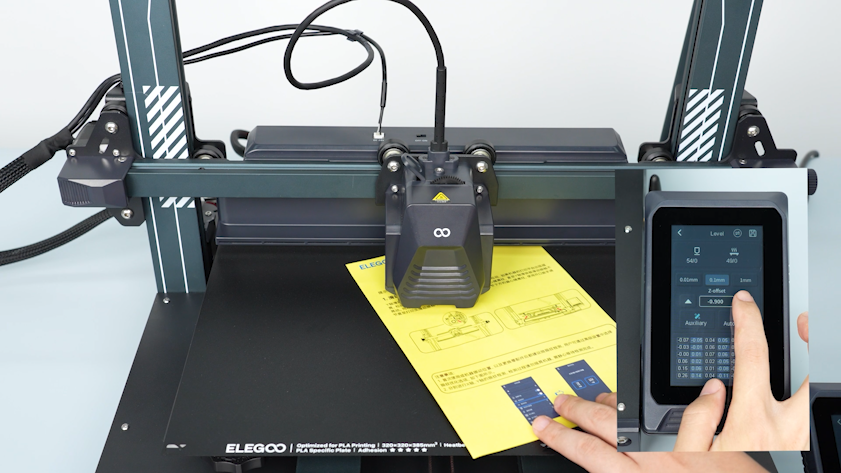
Select Level on the touch screen. After the extruder moves to the center of the heated bed, place a piece of paper between the nozzle and the heated bed to adjust the Z-offset value.
-
Slide the paper back and forth and adjust the Z-offset value on the touch screen. The paper should be able to be pulled out, but it should be too tight to be pushed in easily.
-
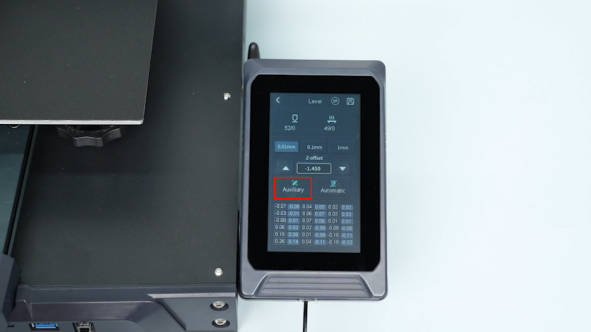
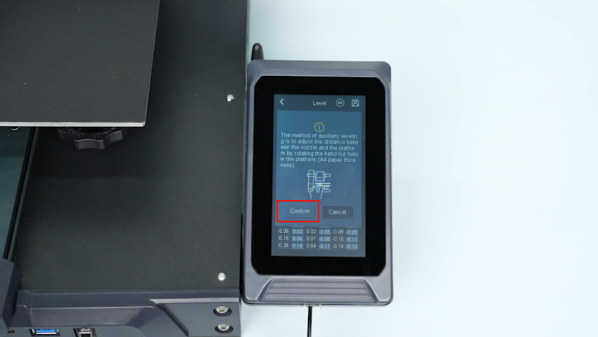
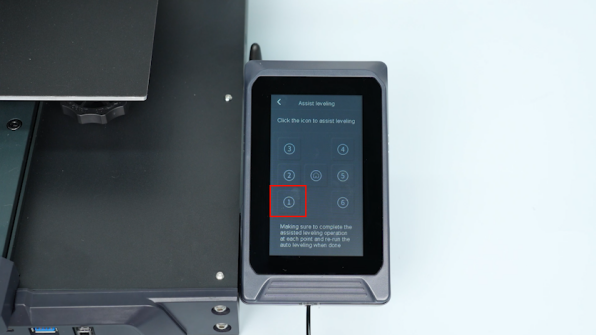
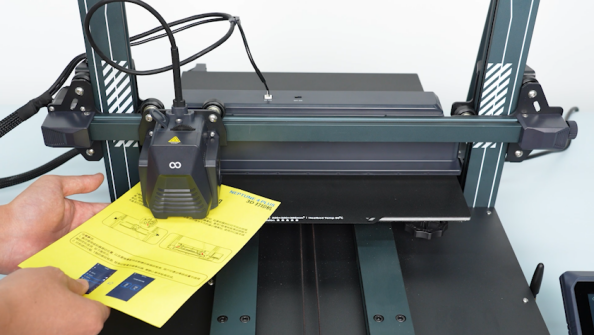
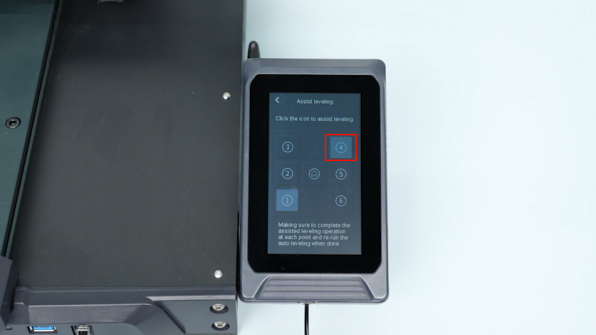
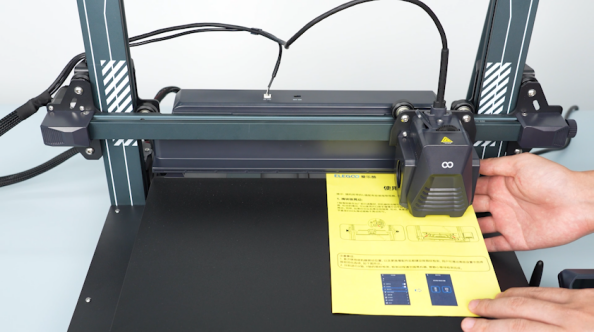
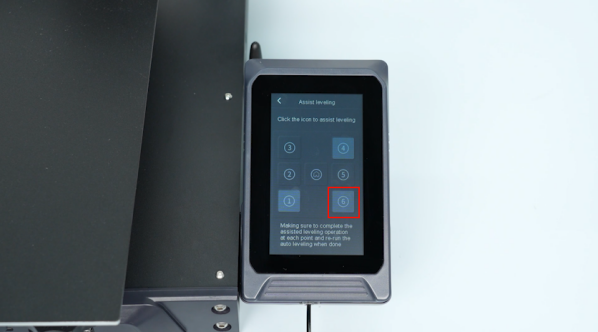
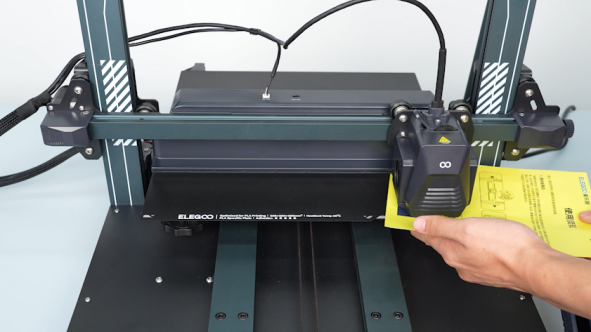
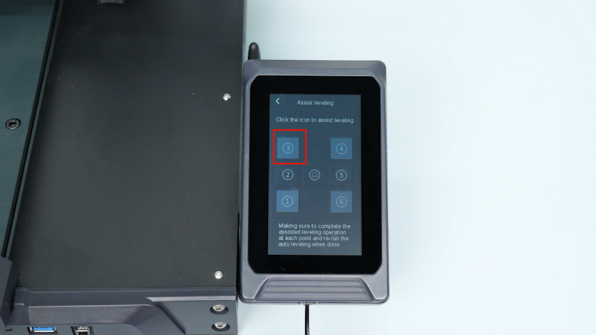
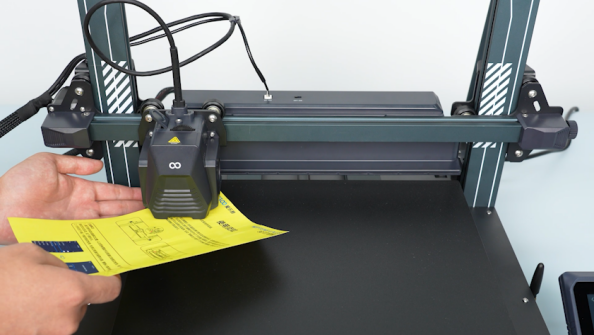
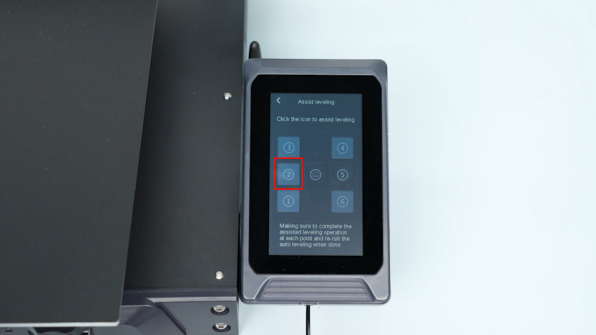
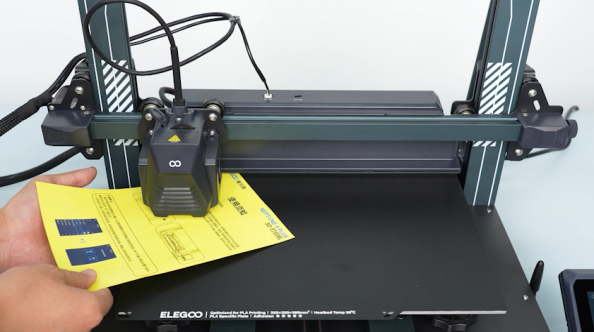
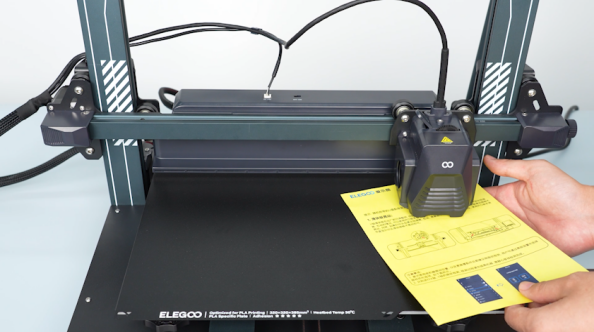
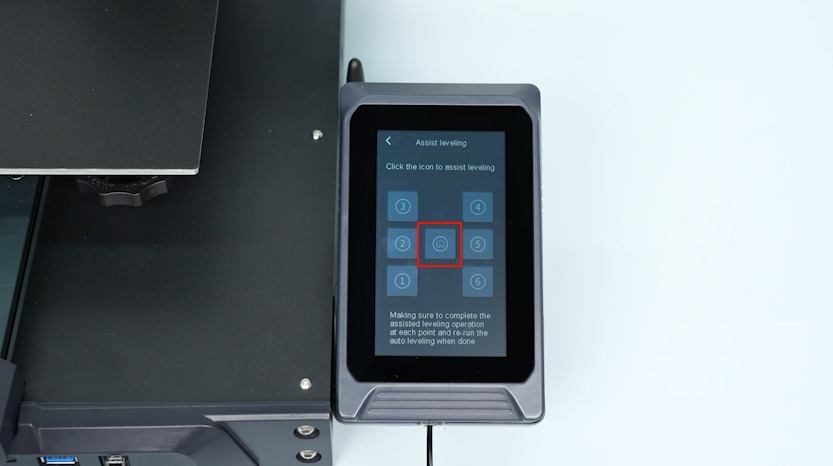
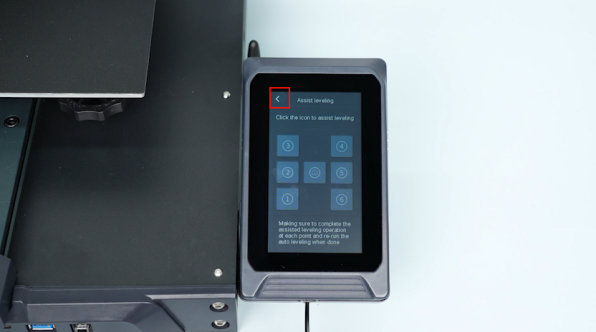
On the touch screen, select Auxiliary Leveling and place the paper between the nozzle and the heated bed. Adjust the leveling screw and drag the paper back and forth.The paper should be able to be pulled out, but it should be too tight to be pushed in easily.
-
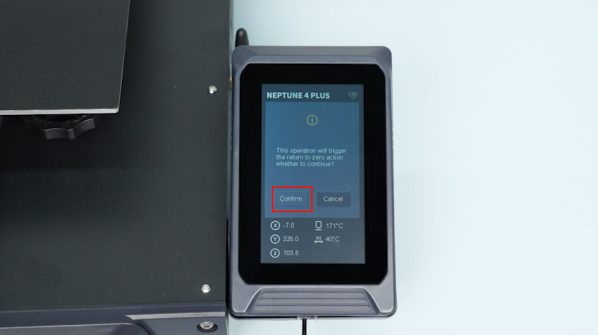
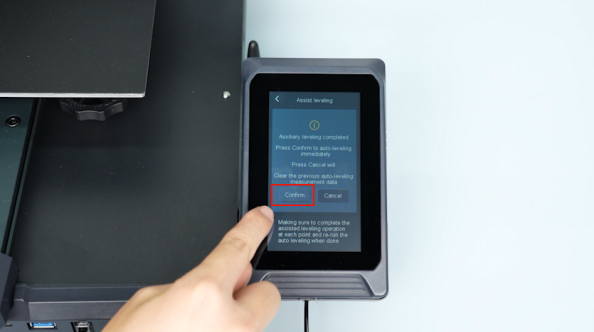
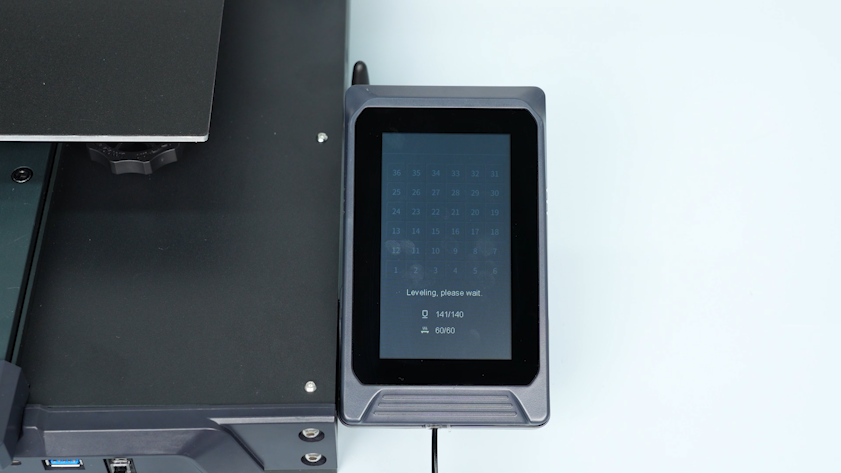
Select Return on the touch screen and start the automatic calibration.
-
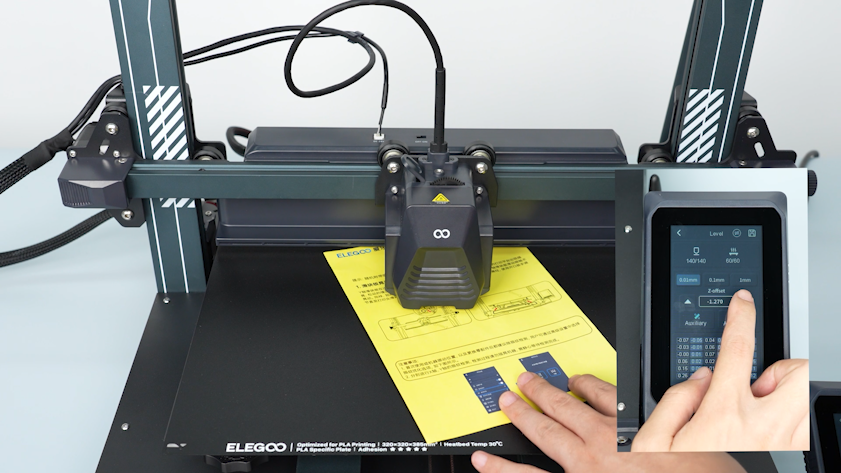
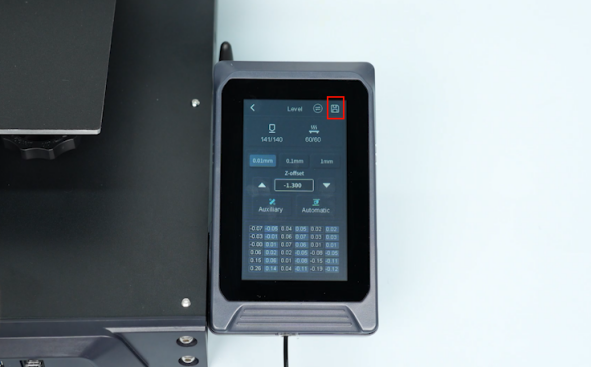
After the automatic caliberation completes, place a piece of paper between the nozzle and the heated bed and repeat the manual leveling steps for Z-offset adjustment.
-
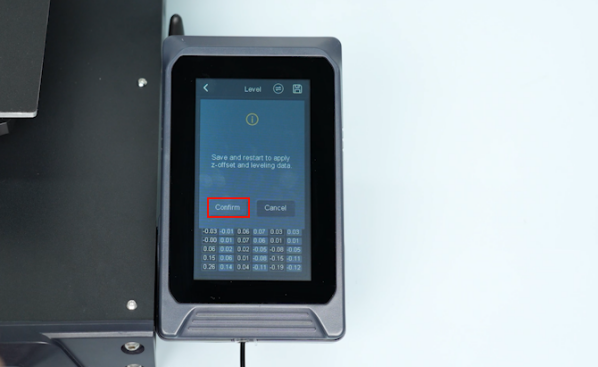
On the touch screen, select Save - Confirm.
-
The printer is ready for use after automatic leveling.