¶ Tools and Materials
-
A 2.0 mm Allen key
-
A new adapter board of the pressure sensor
¶ Tutorial Video
https://www.youtube.com/watch?v=R14mDmGJSG0
¶ Instruction
¶ Preparation
Turn the power switch OFF (symbol "〇") and unplug the power supply cable.
¶ Remove the old adapter board from the pressure sensor
-
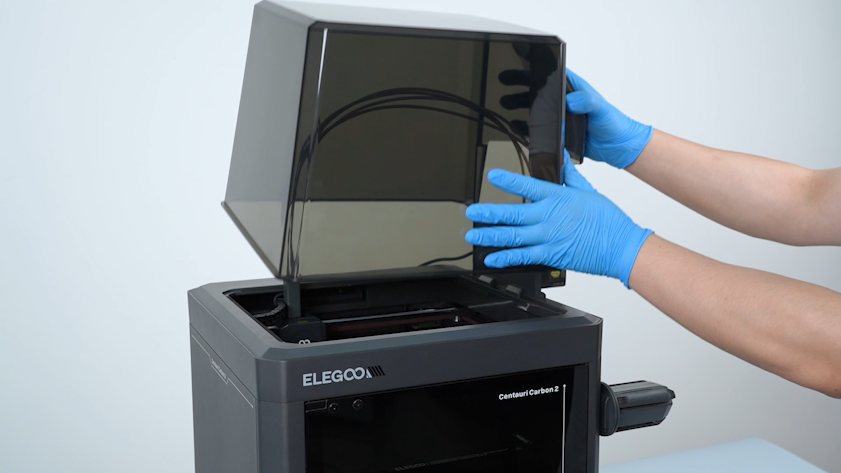
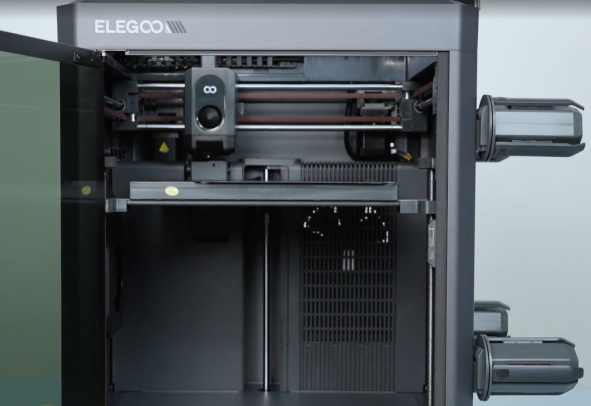
Remove the lid.
-
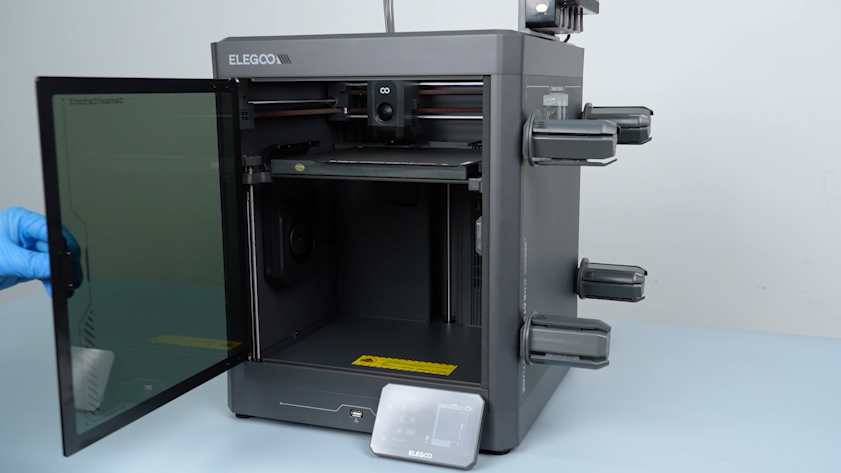
Open the front door.
-
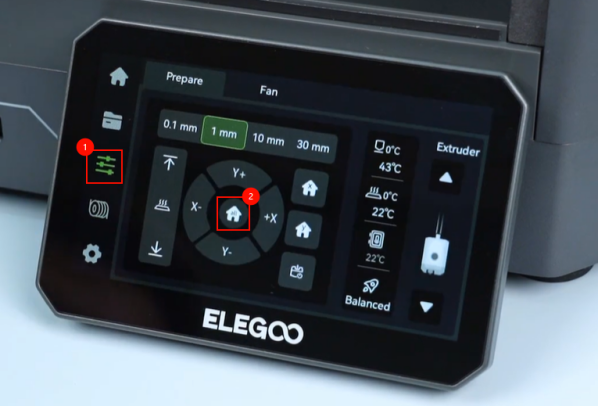
Select Settings - Home on the touch screen. Wait for the homing process of the tool head to complete.
-
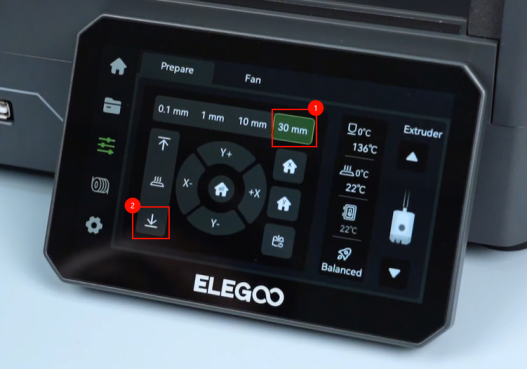
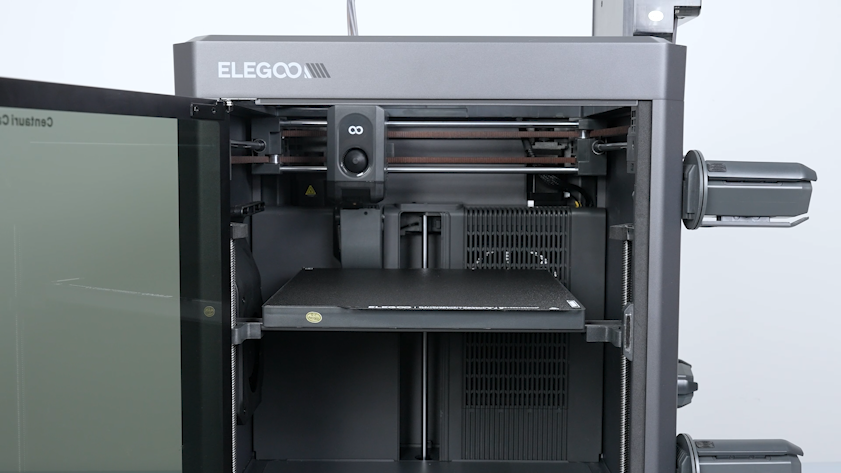
On the touch screen, select 30 mm as the motor movement distance. Select ↓ to lower the heated bed by 60 mm
-
Turn the power switch OFF (symbol "〇") and unplug the power supply cable.
-
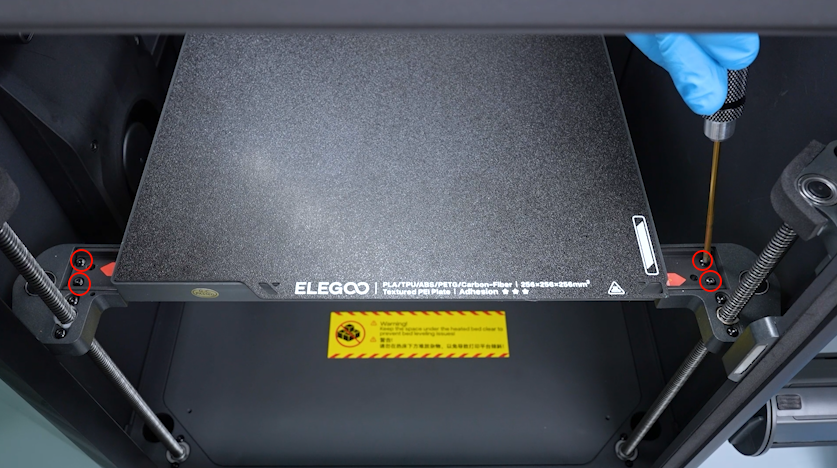
Release and remove the six screws securing the heated bed pallet with a 2.0 mm Allen key.
-
Remove the PEI plate.
-
Secure the pin of the mutual locking bolt with a 2.0 mm Allen key. Release and remove the collar of the mutual locking bolt with another 2.0 mm Allen key.
-
Remove the other mutual locking bolts in the same way.
-
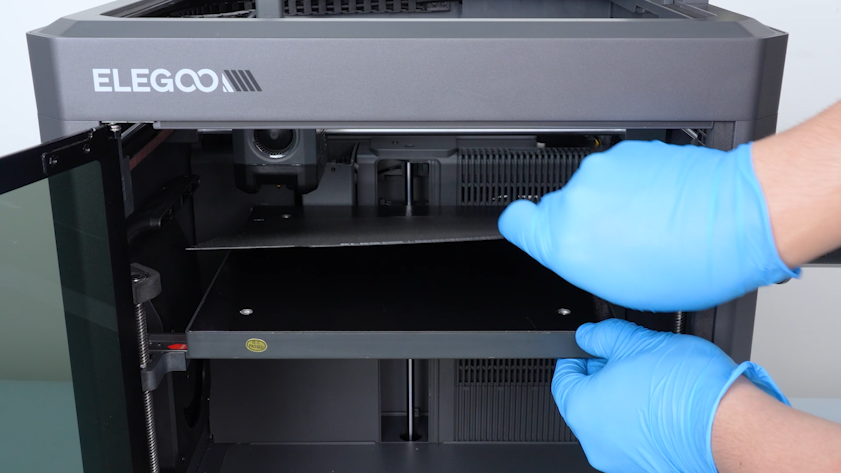
Lift the heated bed.
-
Remove the springs.
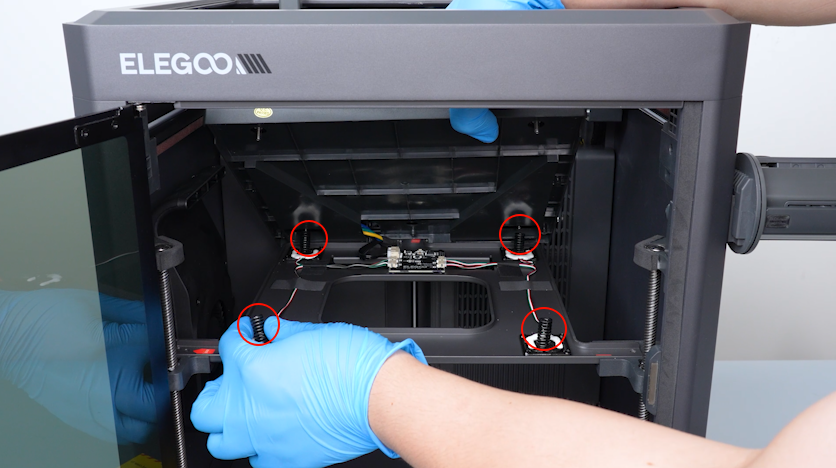
-
Unplug the connection cable of the pressure sensors.
-
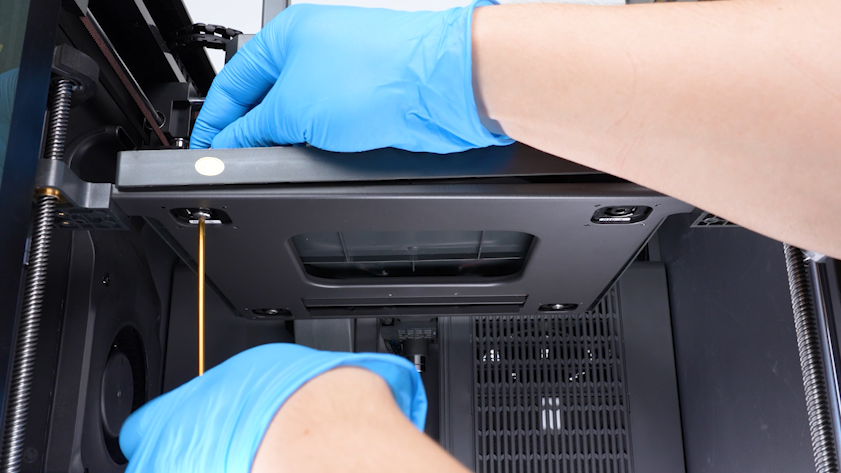
Remove the heated bed pallet.
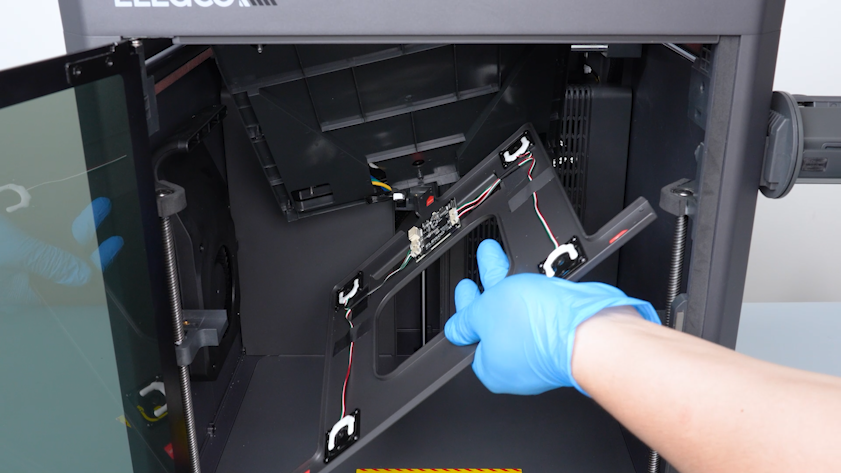
-
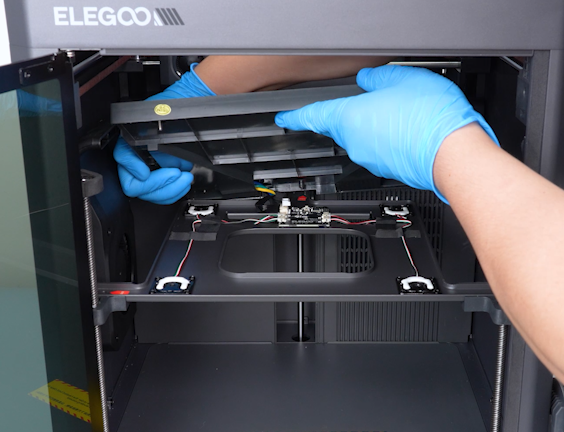
Tilt the heated bed and place it temporarily in the chamber.

-
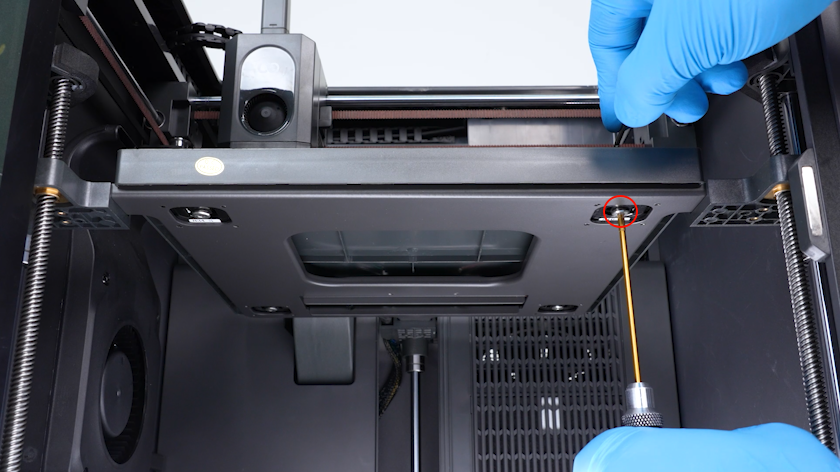
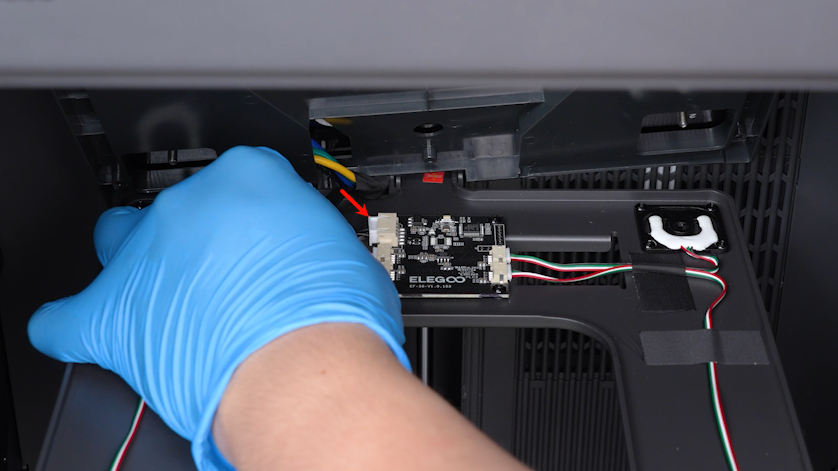
Unplug the cables of the pressure sensors.
-
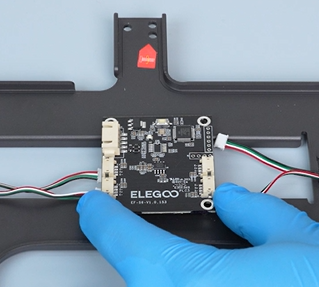
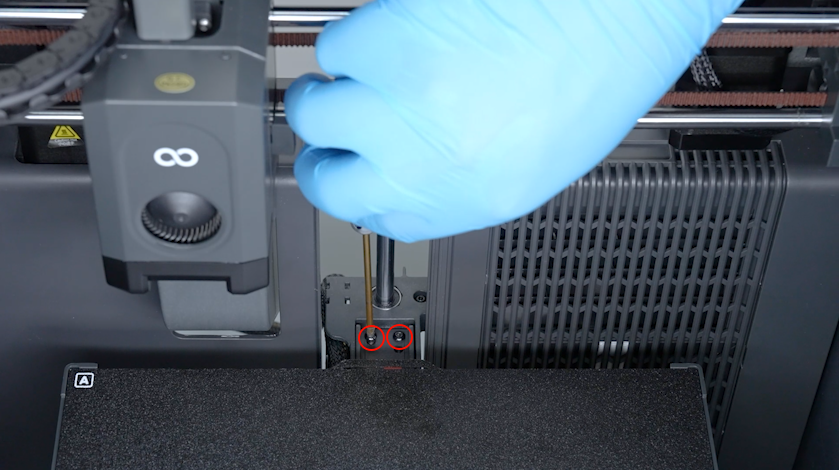
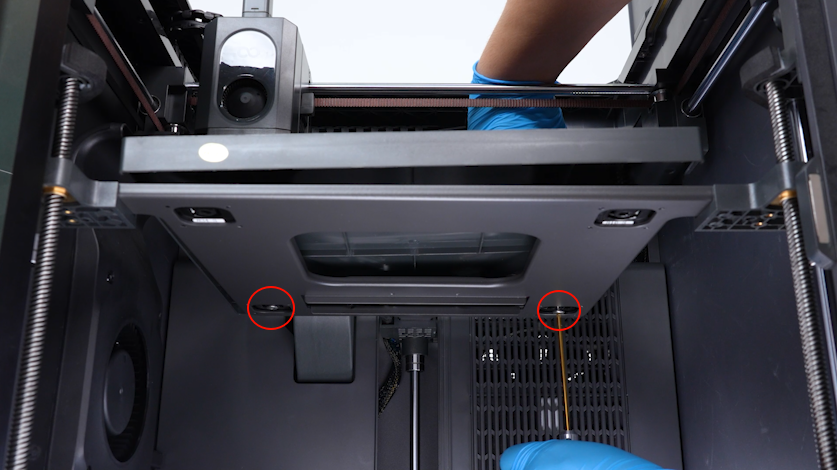
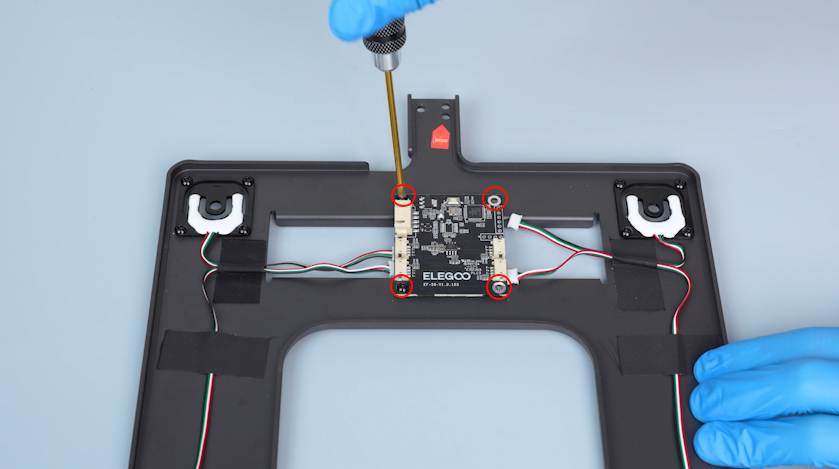
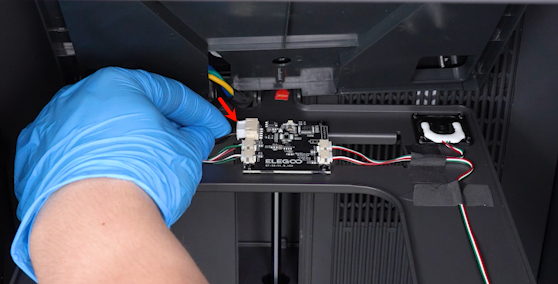
Release and remove the four screws securing the adapter board of the pressure sensor with a 2.0 mm Allen key. Remove the old adapter board of the pressure sensor.
¶ Install the new adapter board of the pressure sensor
-
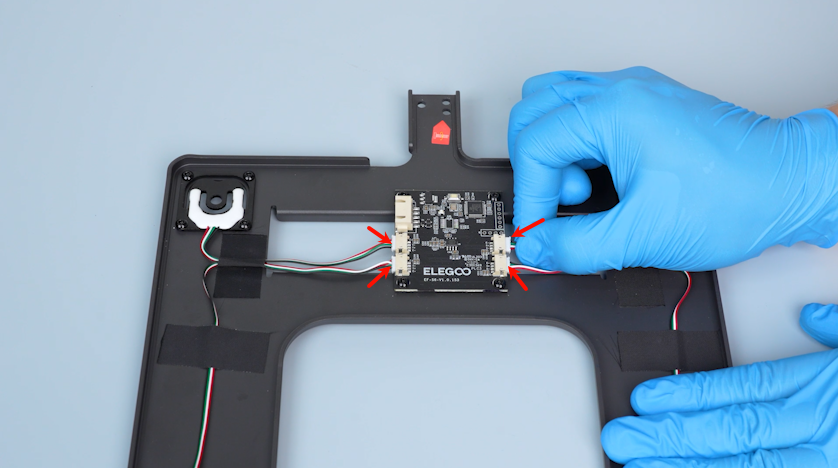
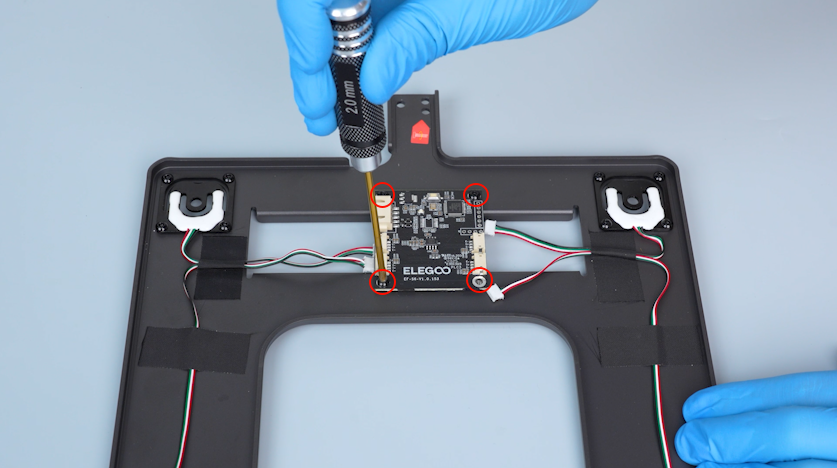
Get the new adapter board of the pressure sensor. Tighten the four screws securing the adapter board of the pressure sensor.
-
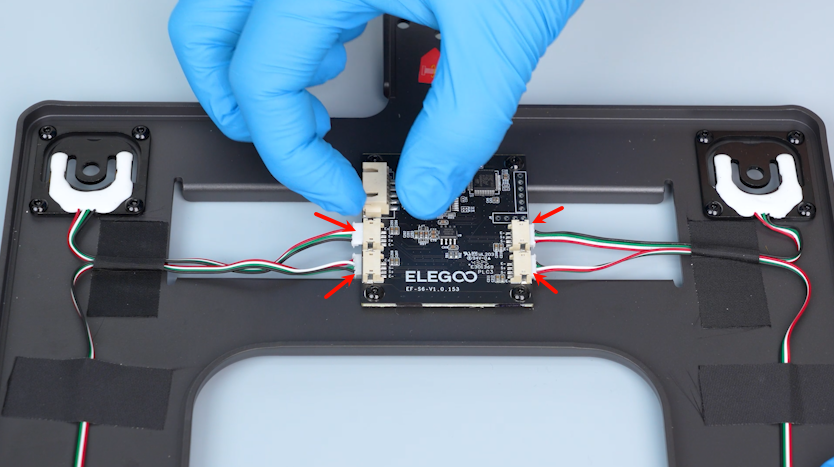
Plug in the cables of the four pressure sensors.
-
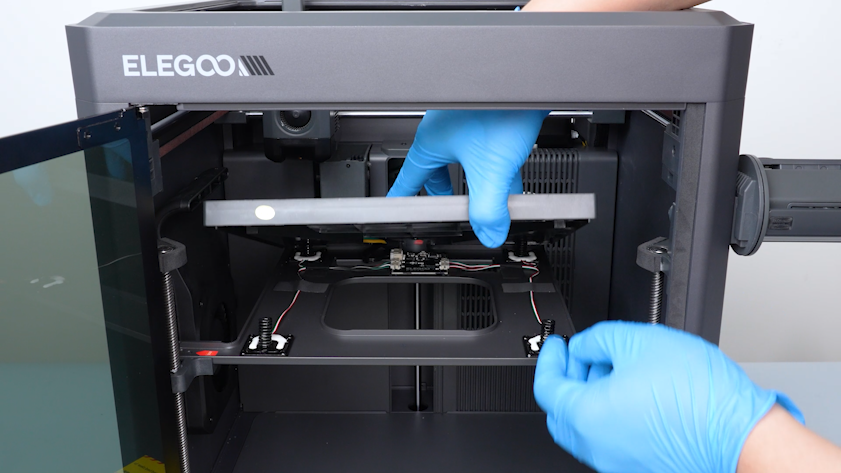
Lift the heated bed. Place the heated bed pallet in the installation position.
-
Plug in the extension cable of the pressure sensors.
-
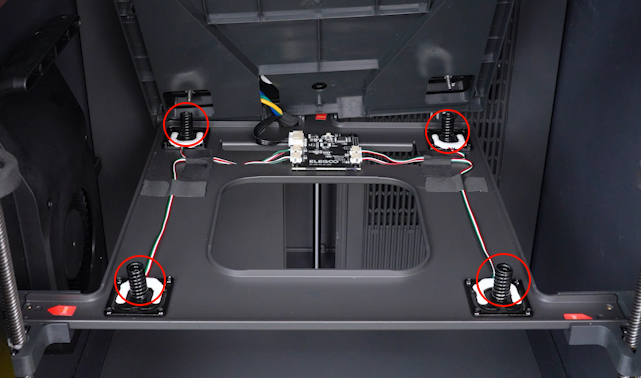
Put the springs in the installation position.
-
Carefully lay the heated bed down and align it with the springs.
-
Tighten the six screws securing the heated bed pallet.
-
Secure the pin of the mutual locking bolt and tighten the collar of the mutual locking bolt.
-
Tighten the other mutual locking bolts in the same way.
-
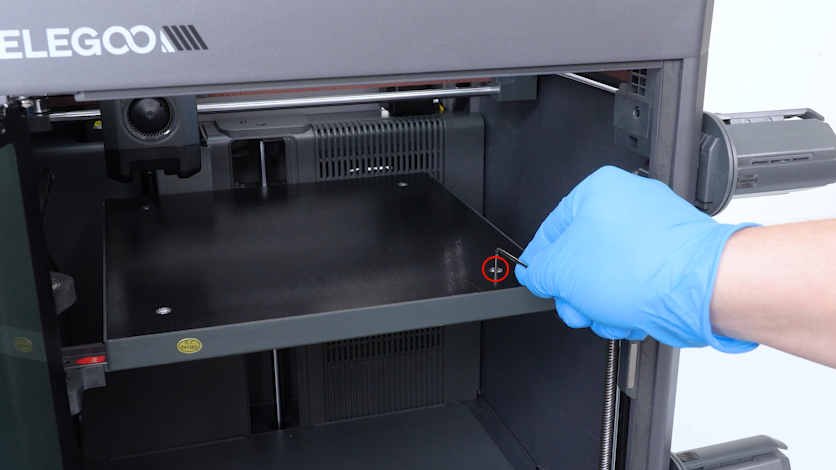
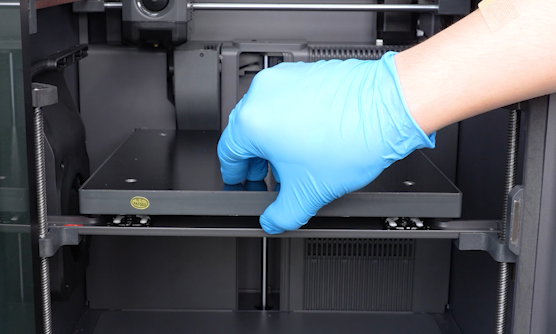
Put the PEI plate in the installation position.
¶ Level the printer
-
Plug in the power cord and power on the printer.
-
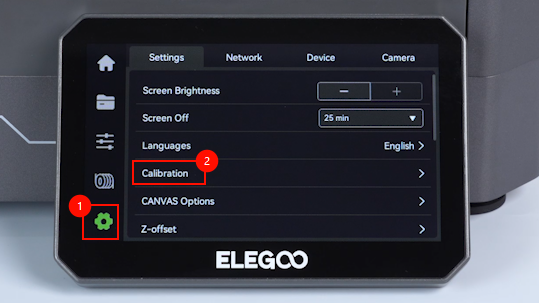
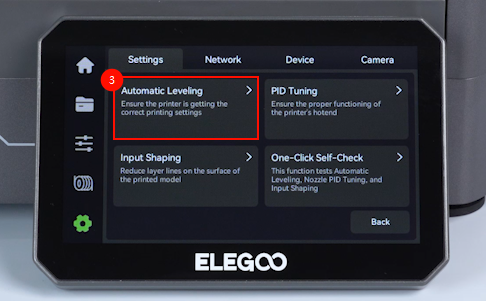
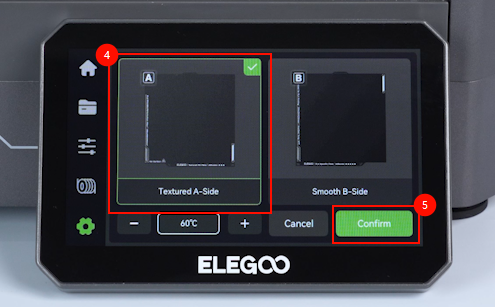
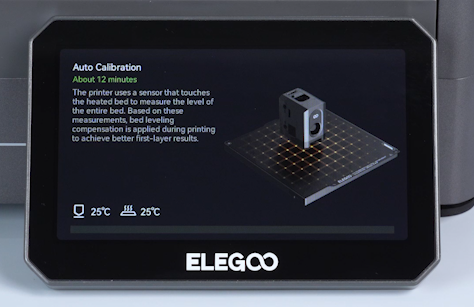
On the touch screen, select Settings - Calibrate - Automatic Leveling - Textured A-side - Confirm. The printer is then ready for use.